A good floating perch isn’t useful if it rips out of the drywall the first time your cat leaps. Follow this detailed walkthrough to mount shelves securely—whether you can hit studs or must improvise on brick, concrete, or hollow walls. See also: Best Wall‑Mounted Cat Play Systems
Tools & Materials Checklist
| Item | Why You Need It |
|---|---|
| Stud finder (magnetic or electronic) | Locates framing studs for the strongest mount points. |
| Level (24 in preferred) | Ensures shelves sit flat; cats refuse unsteady perches. |
| Painter’s tape & pencil | Mark reference lines without damaging paint. |
| Drill/driver + bits | ⅛‑in wood bit for pilot holes; masonry bit for brick/concrete. |
| Screws/anchors (rated ≥ 50 lb each) | Choose hardware to match wall type (see table below). |
| Socket wrench or screwdriver set | Tighten lag screws or toggle bolts securely. |
| Paper template (if supplied) | Align mounting holes perfectly—saves redrilling. |
| Vacuum & drop cloth | Catch drywall dust; protect furniture. |
Wall‑Type Cheat Sheet
| Wall Type | Best Hardware | Load Rating | Notes |
|---|---|---|---|
| Wood‑stud drywall | ¼‑in × 3 in lag screws into studs | 60 – 80 lb | Must hit at least two studs per shelf ≥ 16 in apart. |
| Metal‑stud drywall | ¼‑in heavy‑duty toggle bolts | 40 – 50 lb | Pilot hole must clear toggle wings; use two bolts per bracket. |
| Brick / concrete | ¼‑in sleeve anchors or Tapcon screws | 80 lb + | Drill with masonry bit; blow out dust before inserting anchors. |
| Plaster / lath | Snaptoggle bolts through lath into cavity | 40 lb | Avoid brittle plaster cracking—drill slowly. |
| Drywall (no stud) | Avoid for primary load | N/A | Use only as secondary anchor point in combo with one stud. |
Step‑by‑Step Installation (Stud Wall)
- Map the course
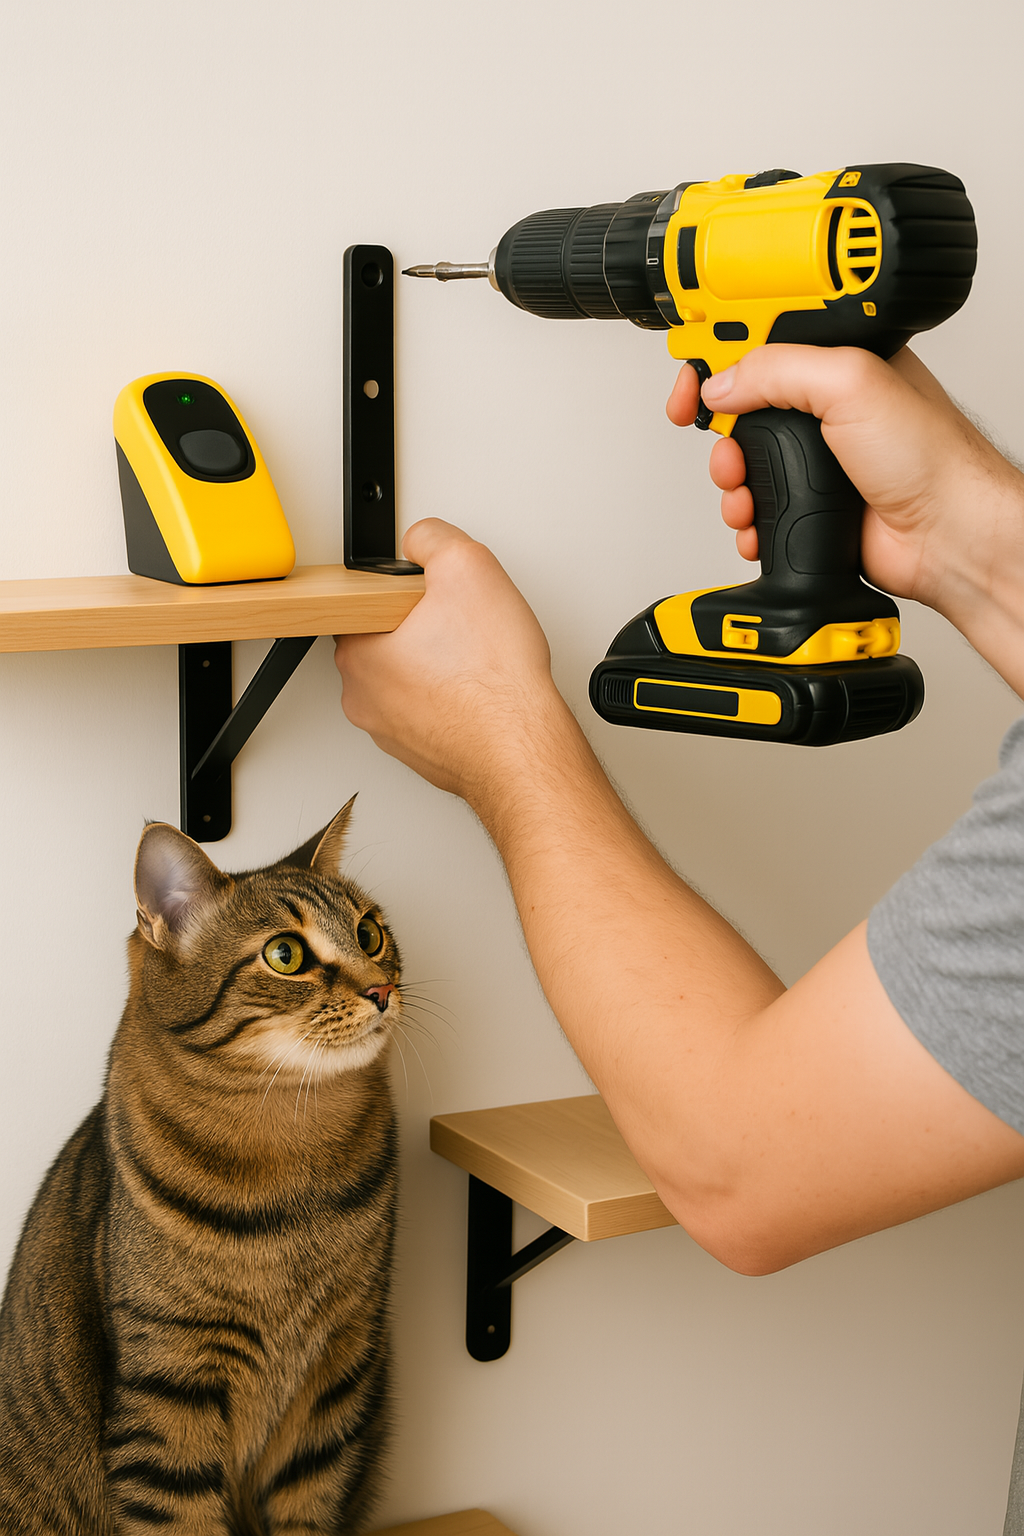
- Hold each shelf or paper template on the wall at cat‑eye height (≈30–36 in from floor for start step).
- Use painter’s tape to mark overall layout before drilling.
- Locate studs
- Slide stud finder horizontally until LED beeps; mark stud centers.
- Confirm by tapping a small nail—should resist firmly.
- Mark pilot holes
- Align the shelf bracket/template so at least two mounting holes sit over studs.
- Use a level to draw light pencil lines across all brackets.
- Drill pilot holes
- ⅛‑in wood bit, 2 in deep into each stud mark.
- Vacuum dust to keep hardware flush.
- Drive lag screws
- Insert shelf bracket, hand‑thread lag screw, then tighten with socket wrench until snug (don’t overtighten—can split stud).
- Check alignment
- Place level on bracket platform; adjust slightly before final torque.
- Install shelf panel / cover caps
- Slide wooden shelf onto bracket pins or screw from underside (depends on brand).
- Tug upward with 10–15 lb of force—no movement means secure.
- Repeat & stagger
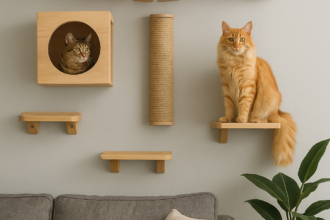
- Stagger heights by 12–16 in to create a climb path.
- End the run with a perch or cubby 16–18 in below ceiling for a “safe apex.”
No‑Stud or Masonry Installation
- Mark layout the same way.
- Drill ¼‑in pilot with masonry bit (brick) or ½‑in hole for toggle bolts (metal studs).
- Insert anchor fully flush with surface; screw should protrude one thread.
- Hang bracket, tighten until firm—avoid overtightening in brick (can crack).
- Weight test with a 20‑lb dumbbell or pushing down firmly before inviting your cat.
Safety & Maintenance Tips
- Quarterly check: tighten screws; wood dries and can loosen hardware over time.
- Replace felt pads every 6–12 months—worn traction causes slips.
- Weight discipline: obey the manufacturer’s per‑shelf limit; don’t store plants/books on cat perches.
- Introduce gradually: sprinkle treats on lower steps first; never place your cat directly at ceiling height on day one.
Final Thoughts
Wall‑mounted play systems let you reclaim floor space and give your cat vertical territory—but only if they’re anchored like real furniture, not picture frames. Take 30 extra minutes to hit studs (or set proper anchors), double‑check your level, and you’ll build a feline highway that stays rock‑solid for years—turning bored zoomies into safe, aerobic climbs instead of couch‑arm carnage.
See also: Best Wall‑Mounted Cat Play Systems

